If you’re extra and you know it, clap your hands! 👏🏻
It was a goal of ours when we moved into this home to someday add a fence. Unfortunately, our HOA requires white vinyl only and of course, that’s one of the costliest types of fencing you can get 😬. Because of that, we held off a while to save up to get the fence we truly wanted instead of settling for what we could afford at the moment.
We finally bit the bullet and got it installed late last fall and we are so glad we waited! It turned out so, so much better than we envisioned it and to be able to sit out on our back patio on nicer days and evenings knowing we have full privacy now (introverted homebody here 👋🏻) is special.
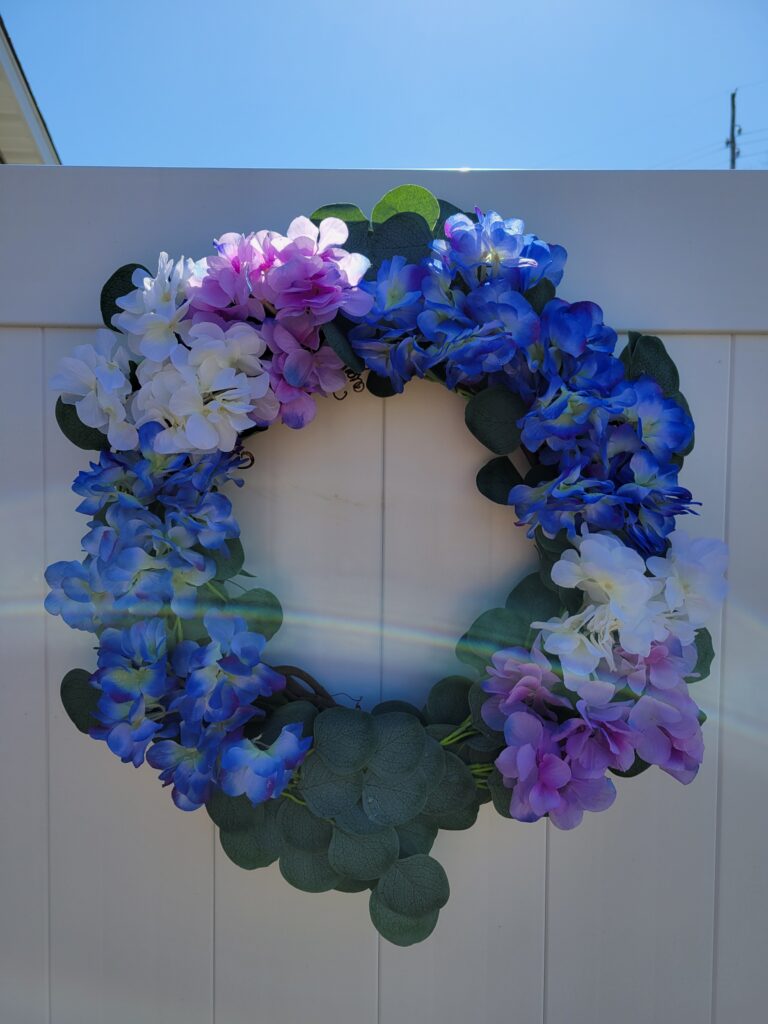
With Christmas being my absolute favorite to decorate for (read: go overboard and make the house look like it retched glitter 🙃), I got a wild idea to decorate the front-facing portion of the fence with garland and wreaths. Maybe it was pregnancy hormones, who knows? 😉 I ended up l-o-v-i-n-g the outcome and decided I needed to decorate the fence for all seasons of the year as I do with our front porch.
THE SPRING SEASON
Spring is my absolute most loved. The temperatures are exactly in my sweet spot and I love glimpsing out and noticing all of the green and lovely, colorful flowers. It made too much sense not to start with this season for my next fence decor venture!
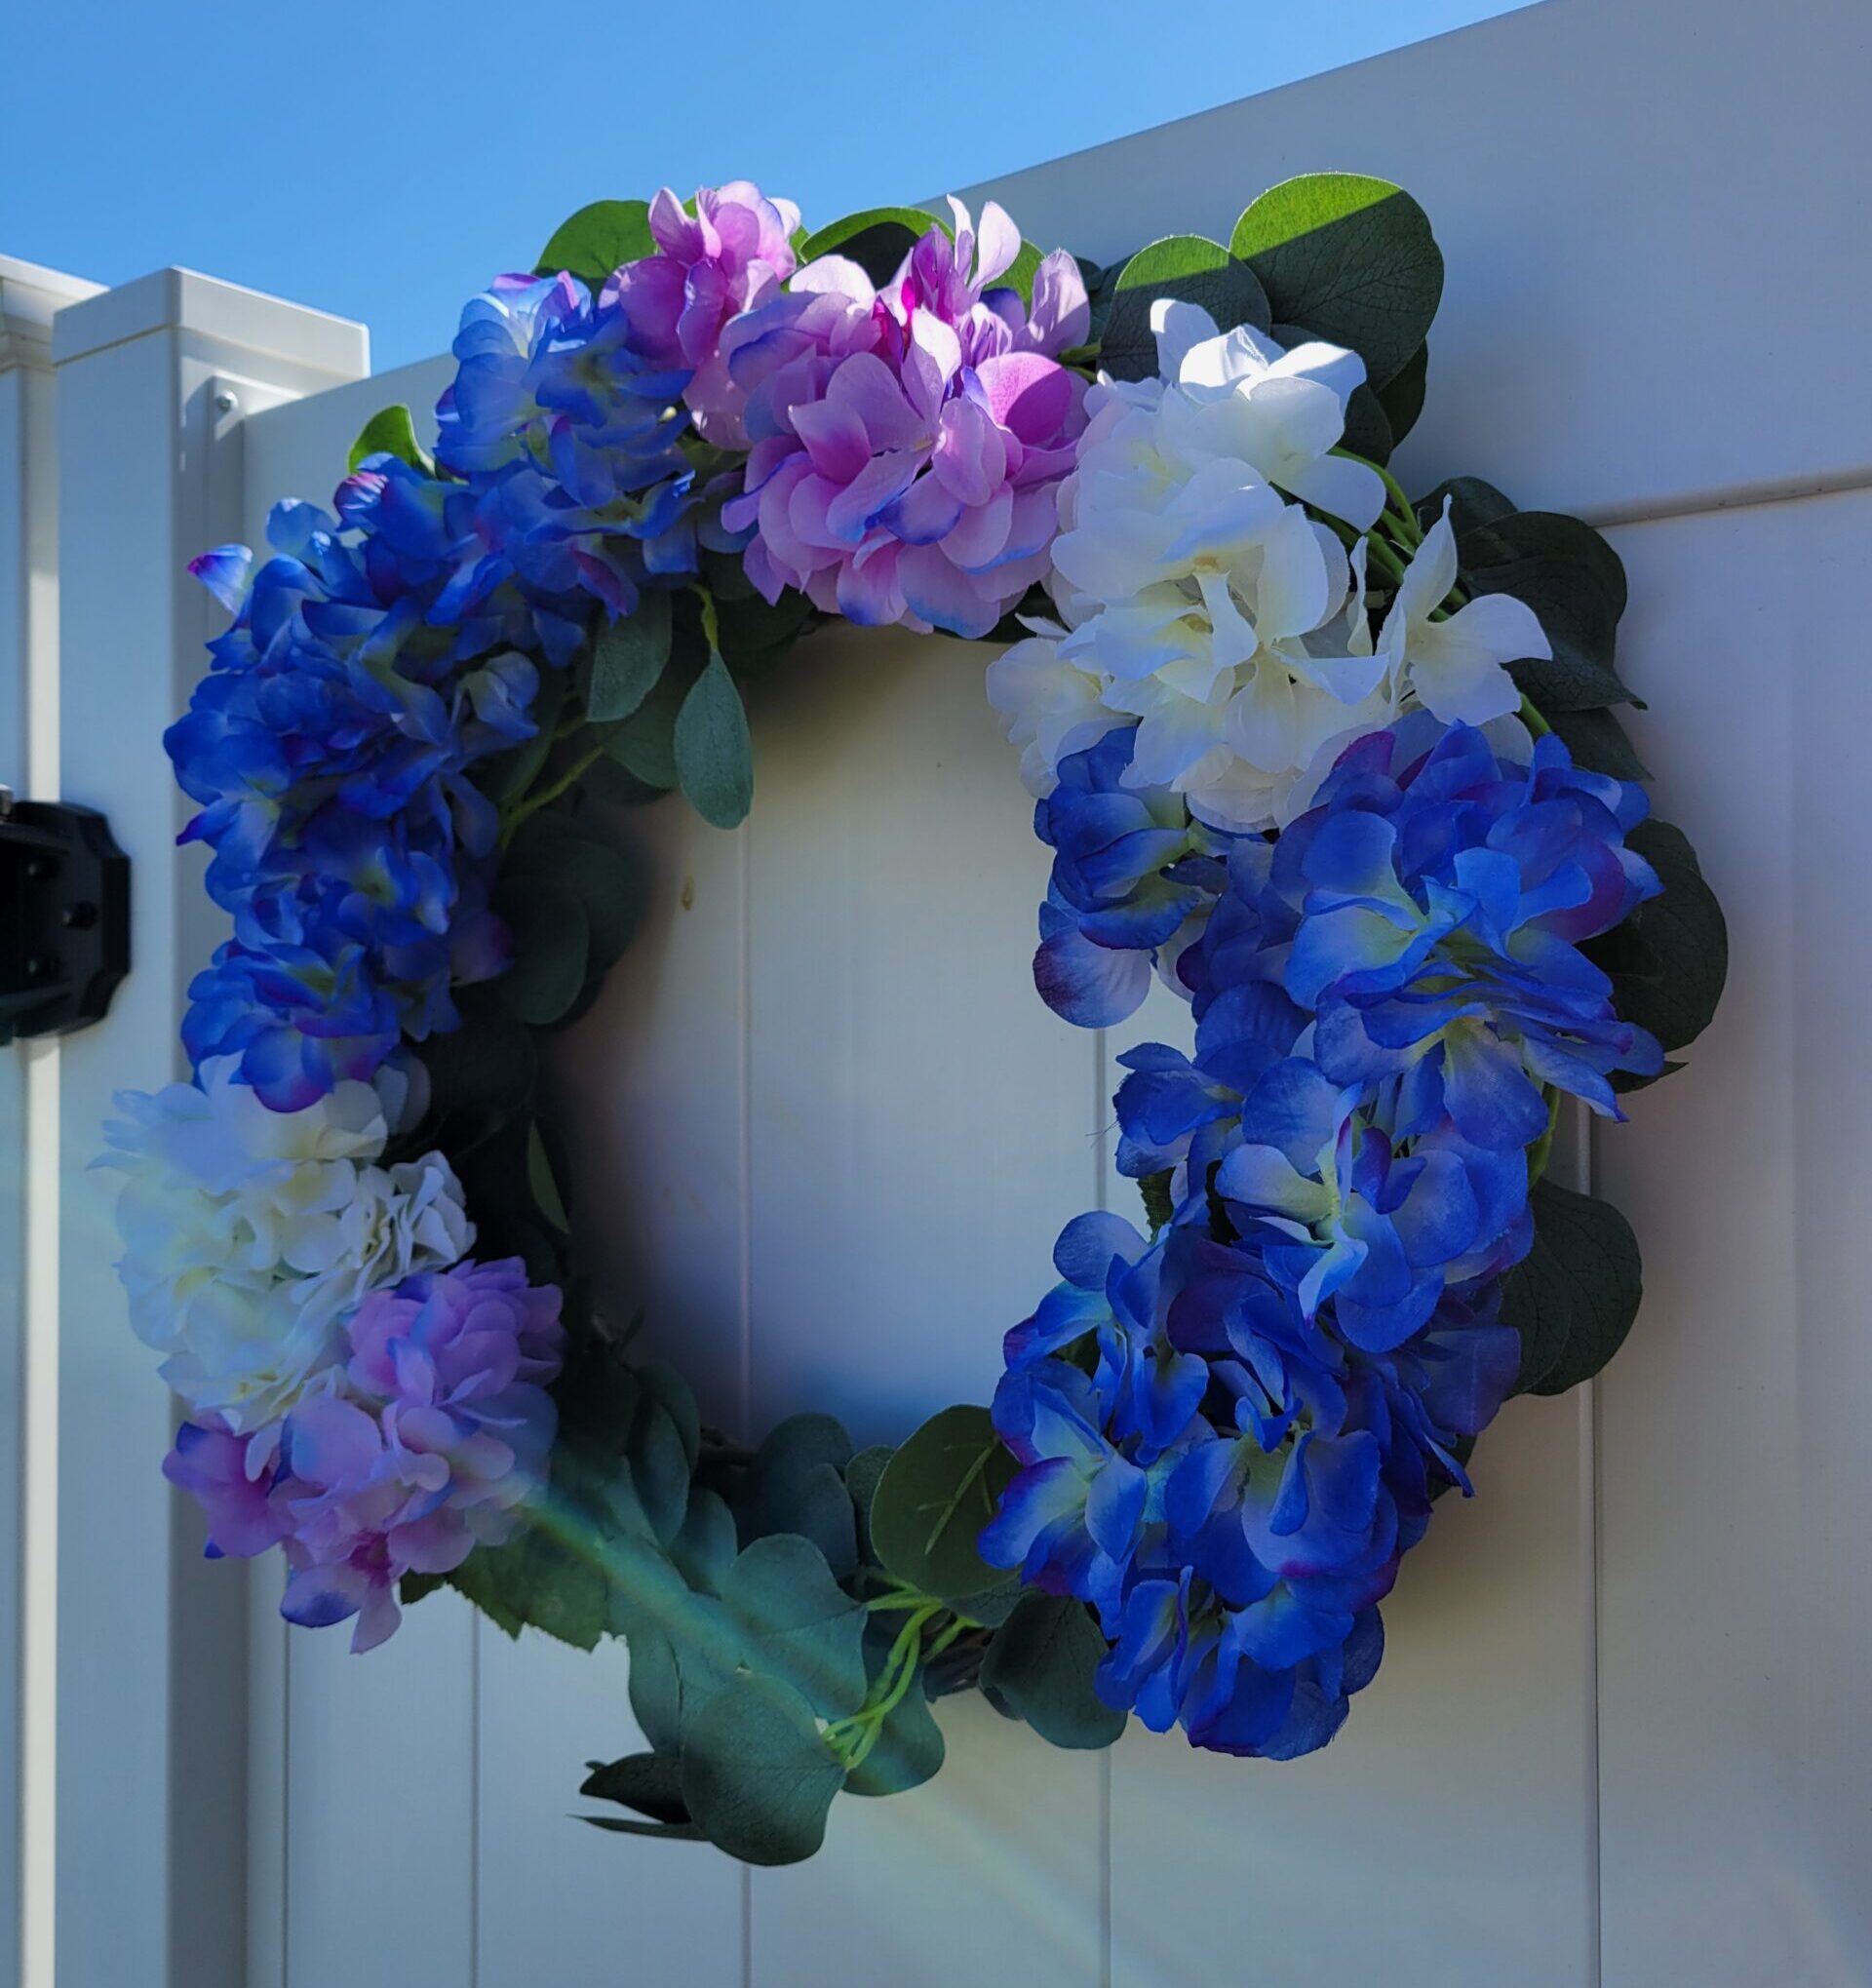
I chose to keep it lower-key and only do a wreath on each fence gate. This also makes it easier for the other seasons to not feel like I have to do too much. I already had a wreath frame from an older wreath I had redone last year and had some eucalyptus garland reserve from our wedding I knew I wanted to use. I shopped around for the ideal floral and colors I was visualizing and got started!
THE DIY
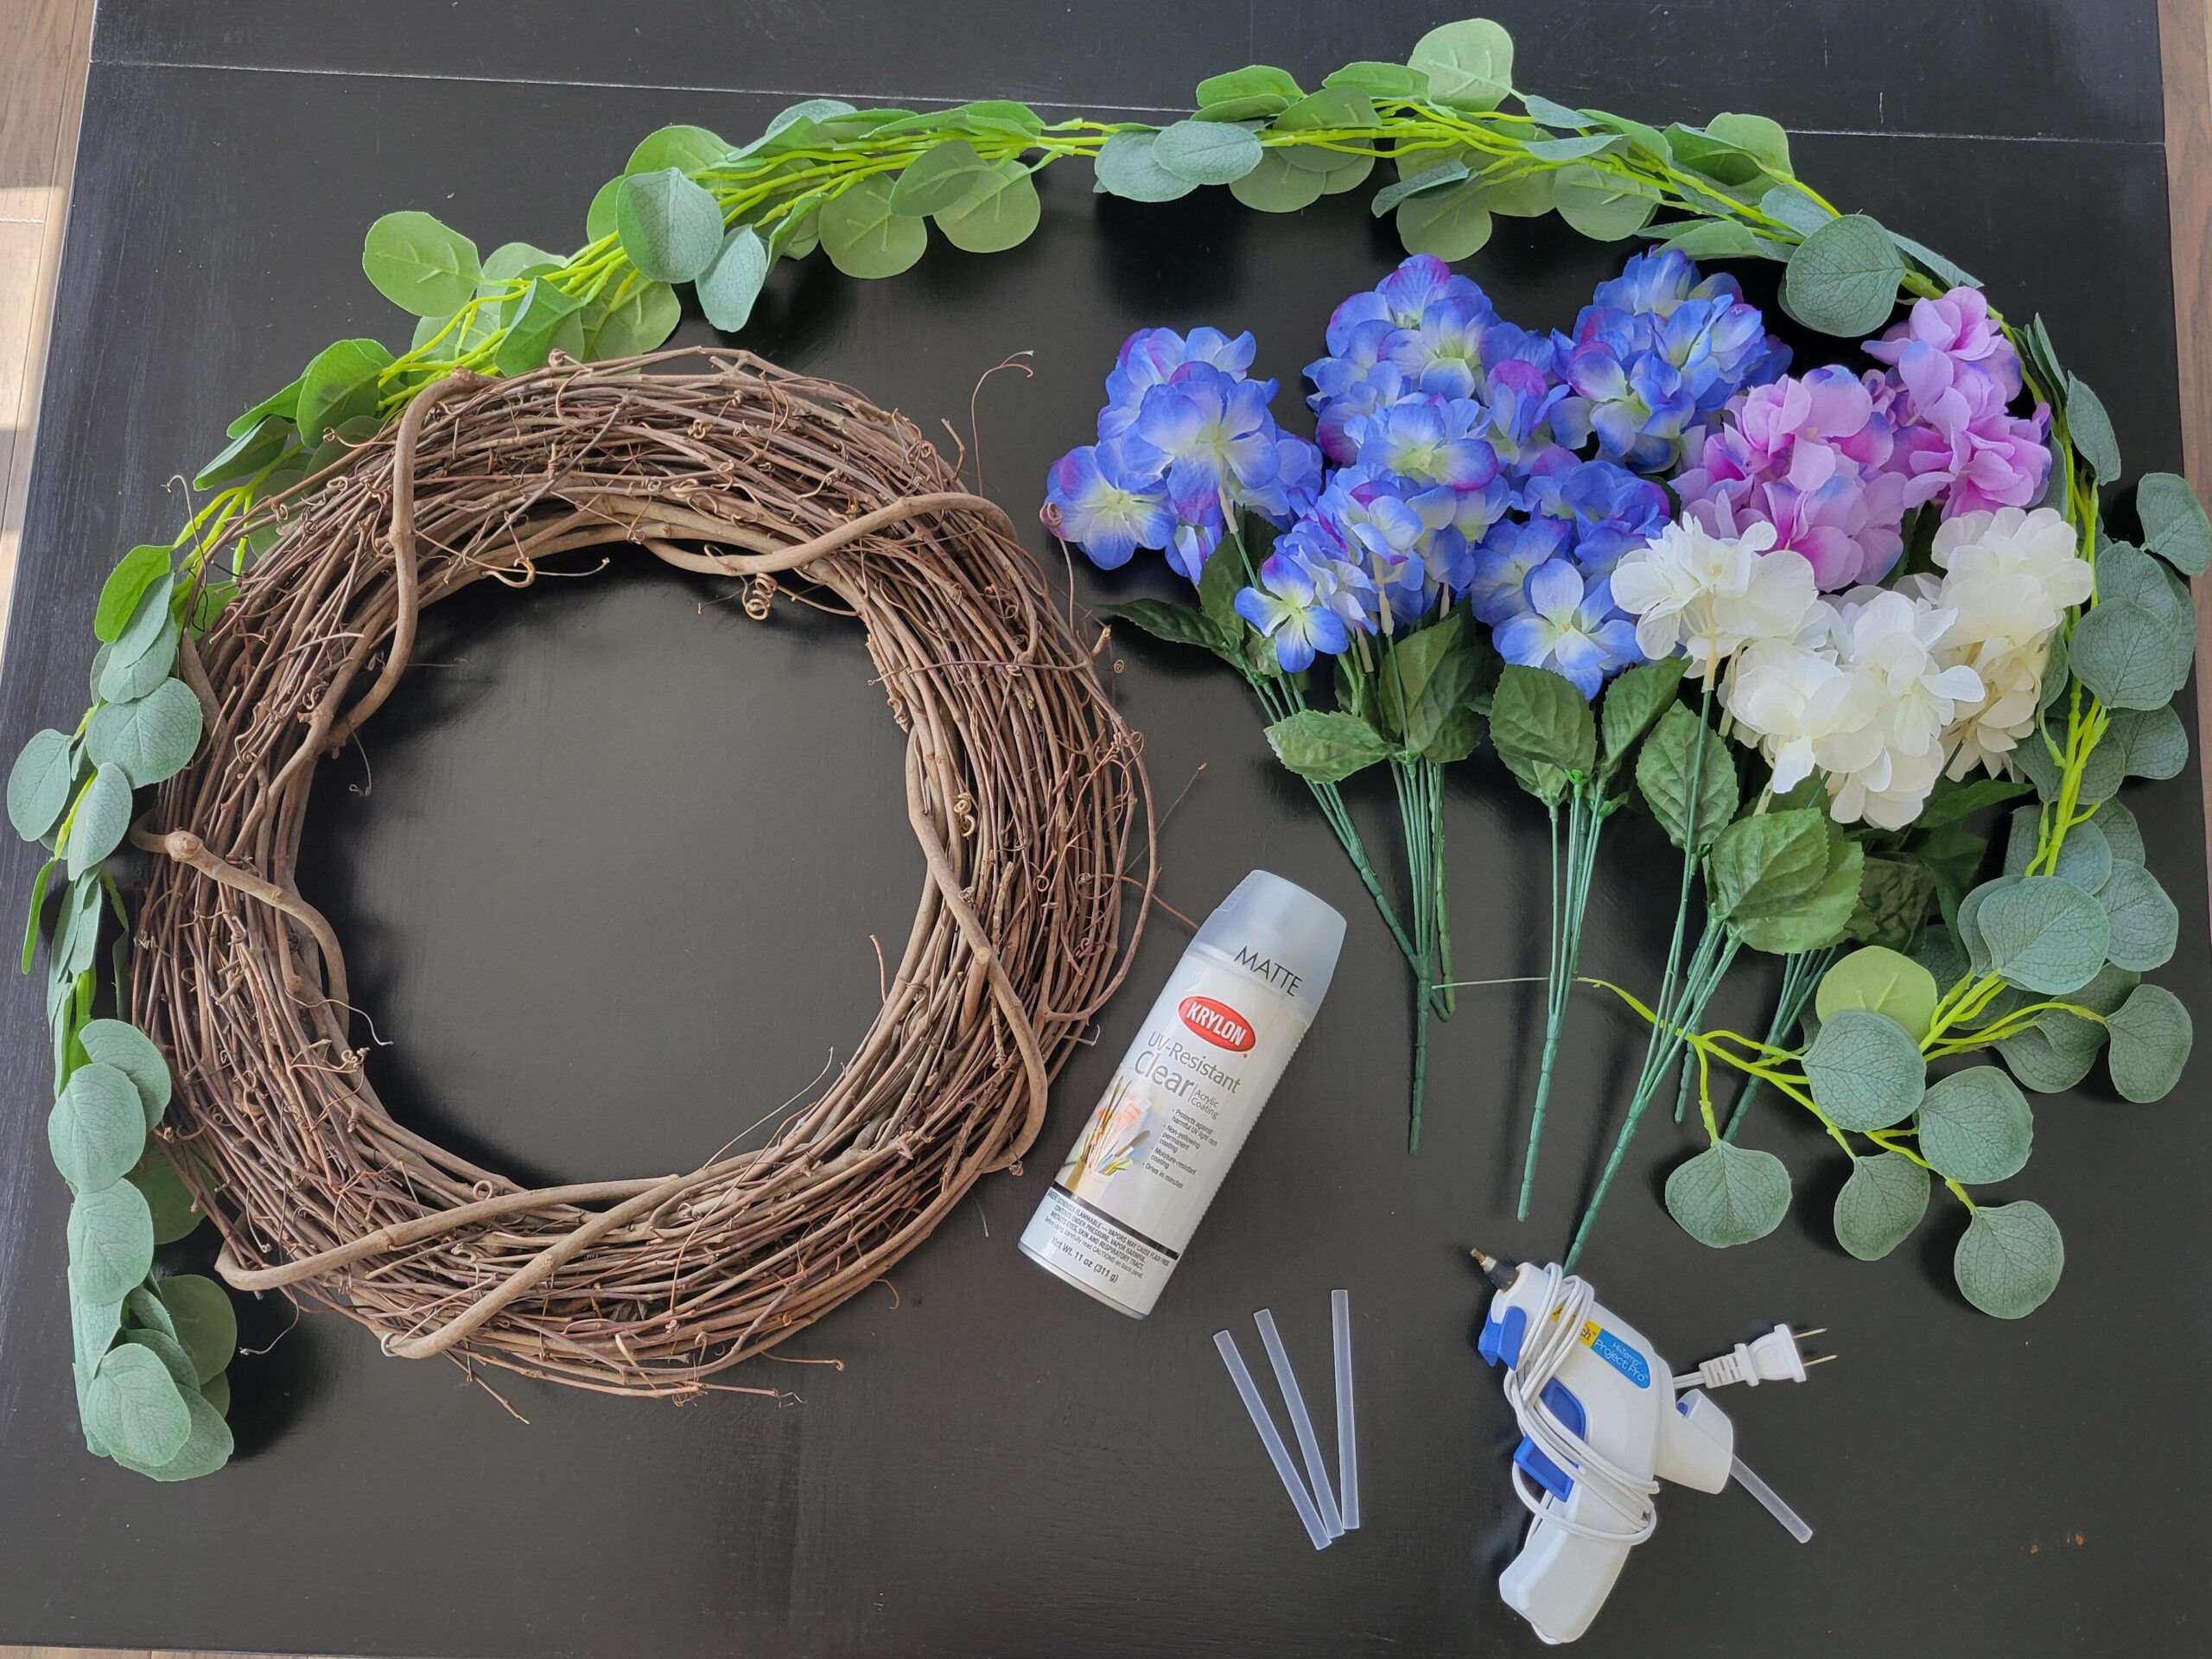
MATERIALS USED

1 – Eucalyptus Garland Strand (The strands I used were from a multi-pack off Amazon for our wedding. If you only need one strand, you can find a similar version here.)
5 – Blue Purple Faux Hydrangeas
1 – Krylon UV Resistant Clear Spray, Matte Finish
1 – Glue Gun and Sticks
1 – Wire Cutters (not pictured)
THE HOW-TO
- Lay out all of your floral, greenery, and wreath frame. Spray with UV-resistant spray to protect your craftwork from the sun and outdoor elements. Let dry fully.
- NOTE: Please do this step outside in a well-ventilated area! This spray has a powerful odor and sometimes masks don’t protect you enough from inhaling! Always read the instructions on the can before use.
- NOTE: Because my wreaths are on our fence in direct sunlight, I did spray mine. If you are doing this project and placing your wreath on a covered porch or area, you may be alright with omitting this step. I’ve made several wreaths for our covered front porch where the color endures the outdoors each year.
- Lay your wreath frame on a flat surface. Begin to affix your garland to the wreath frame as you so choose. Don’t worry about perfect placement as you will attach it to the frame with glue later.
- Attach your faux florals. I stick the full stem through the grapevine and bend the stem in the back so it lays flat where I can fluff out the floral to achieve the look I’m going for.
- Flip the wreath over and trim off all of the stems with the wire cutters. Don’t trim them too far into the frame. Leave some stem showing on the back.
- Flip the wreath back over and begin gluing the garland and florals to the frame. Because grapevine frames sometimes have sections where there aren’t a lot of thick branches, do your best to glue the pieces together as best you can.
- Once the glue is dry, flip the wreath over and glue the excess stems to the frame for added security.
- Let dry and display!


Did you complete this project? Or do you have a favorite DIY wreath you’ve completed? Comment below or tag me on Instagram, @helloblondemoments, to share the love!

Leave a Lovely Word or Two
Share the Love -
0 Comments