It first dawned on me a couple of weeks ago that everything going on our baby boy’s walls were to be DIYed by moi 🙃. For me to DIY so much isn’t necessarily out of the norm but it made me do a little happy dance inside that so much of his nursery will have so many personal touches to it.
Introducing project number 2 of 4 that I am decking his walls with! Missed out on project number 1? Check it out here!
THE DESIGN
The theme we chose for his nursery was outdoorsy/nature/adventure/greenery. We adore being outdoors and I love trekking trails and embracing nature as a whole. But I also fell in love with other ideas that tipped more toward adventure. The concern was that I didn’t want to cling to just “adventure” and have his room feel like it was centered around the “traveling” aspect but I also didn’t want to stick with “outdoors” and “nature” and have it be your typical baby animals outdoor theme. Don’t get me wrong, those baby animals are dang cute, but I didn’t want his room to feel too kiddish.
I knew that I somehow wanted to incorporate elements of the outdoors like mountains, trees, etc. but I was also hooked on including things like the sun, moon, stars, and clouds. My wheels kept spinning and it wasn’t until I found some sweet, simple paintings of mountain ranges that inspired me and ushered me to my final idea.
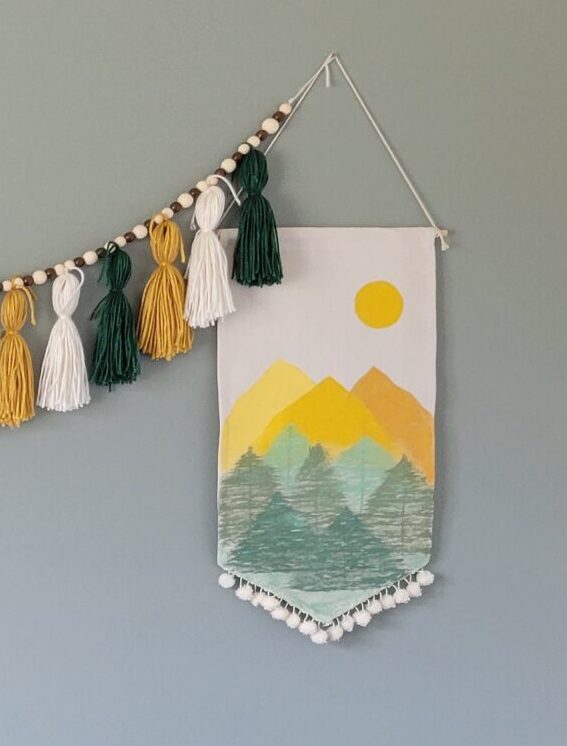
I came up with the vision to have two banners hanging on each side of his crib, one with a daytime mountain scene and the other with a nighttime mountain scene. It fully contained everything I wanted to fit without leaning too much to one side or the other and in a straightforward, small space so it wasn’t overwhelming for the room or space.
I was apprehensive about painting each scene, especially since it’s been quite a few years since I handled a paintbrush, but I cherished how much it would mean to have me do it myself for our little guy to have in his room.
THE DIY
MATERIALS USED
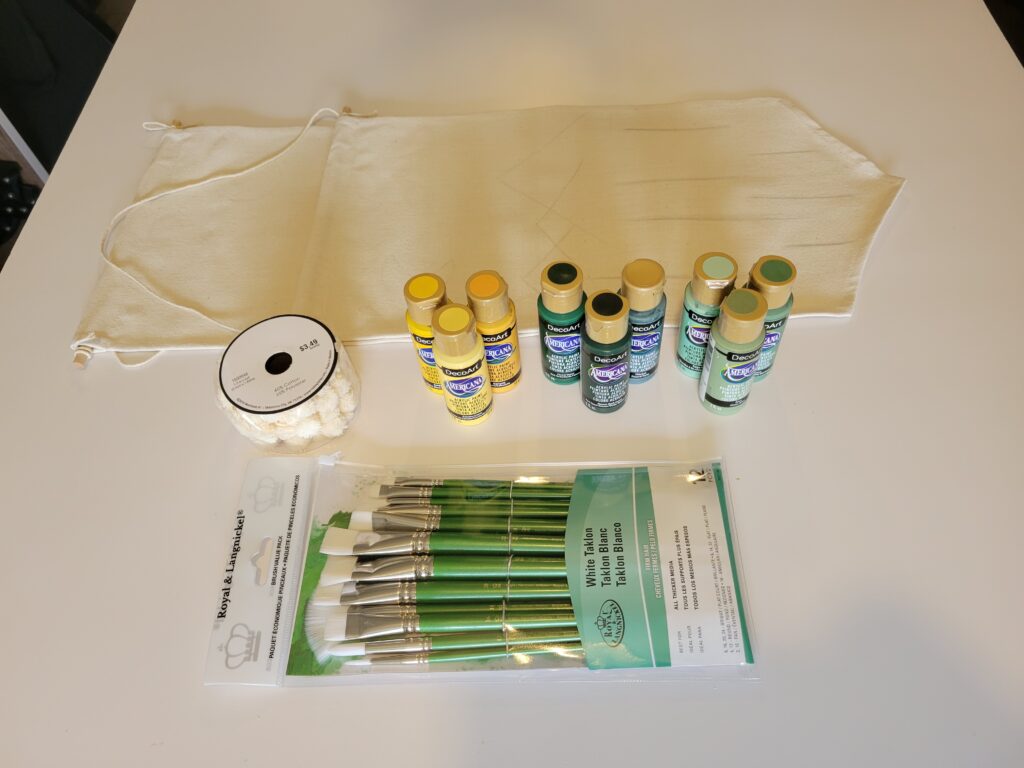
2 – Canvas Banners
1 – 2 fl oz tube of acrylic paint for each color used (I used Royal Navy, Colonial Blue, True Blue, Marigold, Golden Yellow, Banana Cream, Leaf Green, Forest Green, Hauser Dark Green, Celery Green, Sage Mint, Desert Cactus)
1 – Pack of Paintbrushes (the types and quantities will depend on the scene you are painting. For example, I knew I needed a fan brush for the trees I would be painting)
1 – 15/16” Pom Trim (My purchase had 2 yards, which was more than enough, and was in Cream)
1 – Small to medium needle
1 – Thread in any color you desire. I chose a cream to match the canvas color as closely as I could
1 – Plate or surface to hold your paint
1 – Cup for rinsing water
1 – Pencil (OPTIONAL, I traced my design lightly on the canvas in pencil before painting)
THE HOW-TO
OPTIONAL: Trace your design lightly on your canvas to prevent any errors. I chose to do this merely because it had been so long since I painted and because I wanted to make sure I could copy to the canvas what was visualized in my mind.
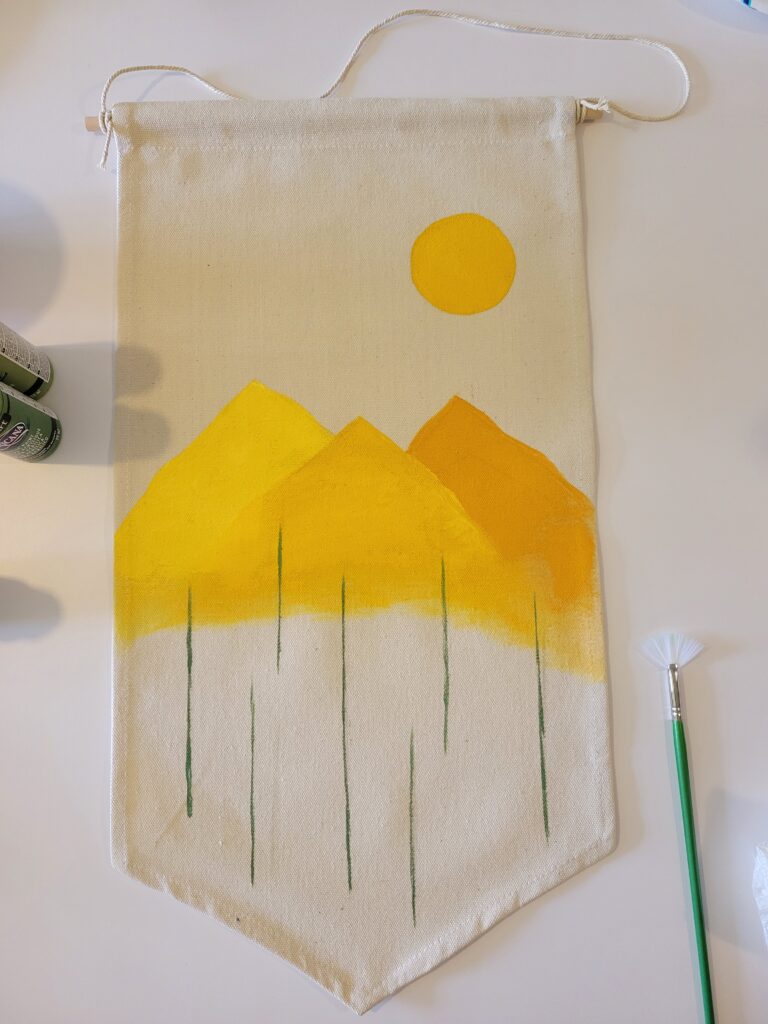
- Choose your colors and distribute a small amount of each on a plate or surface. Paint out your picture on each canvas. Let dry (although I found this particular canvas sucked up the paint pretty quickly!).
- Measure the pom trim to the bottom edges and cut your desired length.
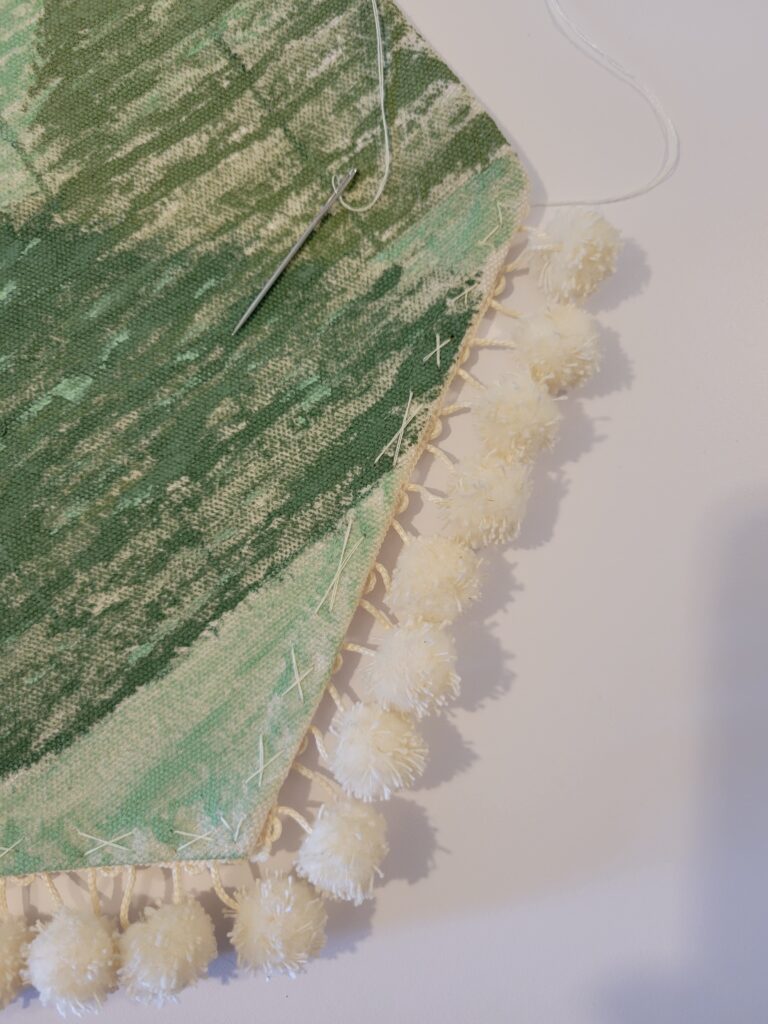
- Sew each piece of trim to the bottom edges. I sewed one side down and returned to my original starting point in an ‘X’ pattern. Feel free to sew it in any way you choose, that was just my preference for this project!
- Hang in your selected location and revel in your artistic abilities!
Did you complete this project? Comment below or tag me on Instagram, @helloblondemoments, to share the love!

Leave a Lovely Word or Two
Share the Love -
0 Comments