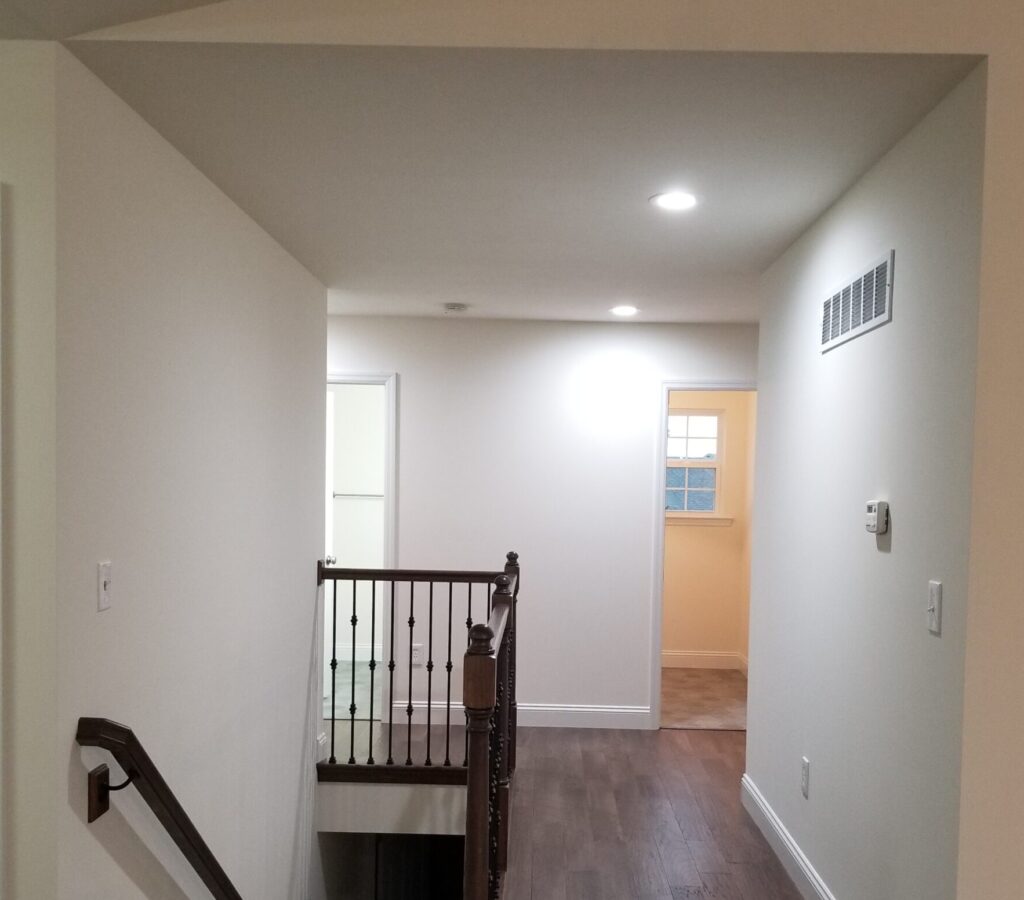
When we moved into this home in the summer of 2019, I knew from the get-go that something needed to be done with this wall. It always felt so large walking past it down the hallway! We had some framed photos and knick-knacks hanging on the wall above our couch in our previous house and didn’t have anywhere to put them in our new great room. This wall felt like an excellent place to display those, however, with only three frames, some greenery, and a handwritten sign, it suddenly felt like so little to fill the area. After putting some thought into it (for nearly a year. Hush, I was focusing on other areas of the house! 😅), a gallery wall sounded like the best choice.
THE DESIGN
I knew I wanted to add some more frames in the mix for down the line when our family began to grow so we could swap out photographs as life happened. I wanted to maintain our “rustic farmhouse” feel and kept an eye out for white or wooden finished frames. I ended up finding all of my frames at Hobby Lobby and Tuesday Morning. I also knew that just one piece of greenery was not enough for all those frames so I added that to the list as well, finding a wreath and another vase at Hobby Lobby. The handwritten sign we already had was something I DIY-ed that says “And so the adventure begins”. I found this adorable arrow (guess where? Hobby Lobby!) and felt it fit nicely with the sign to fill up the space. I also had saved on Etsy for quite a while a shop that makes hand-cut state outlines that also provide you with a wooden heart so you can attach it to anywhere in the state that is significant to you (how cute, amirite?!) and decided to finally bite the bullet on that. It seemed like the greatest ribbon on top of the plan that I had.
I measured about a thousand times to make sure everything fit. The most challenging part was making sure a frame I had selected to surround our thermostat was centered around it…I guess I should have measured a thousand and one times because it ended up NOT being centered 🙃…I eventually got used to it because it was a beast for my husband and me to get everything hung! Once I had my measurements, I used painter’s tape to mark the outside edges of the area. From there I just positioned all my frames, greenery, and signage until it all fit in a way that flowed. I was so in love with the outcome!
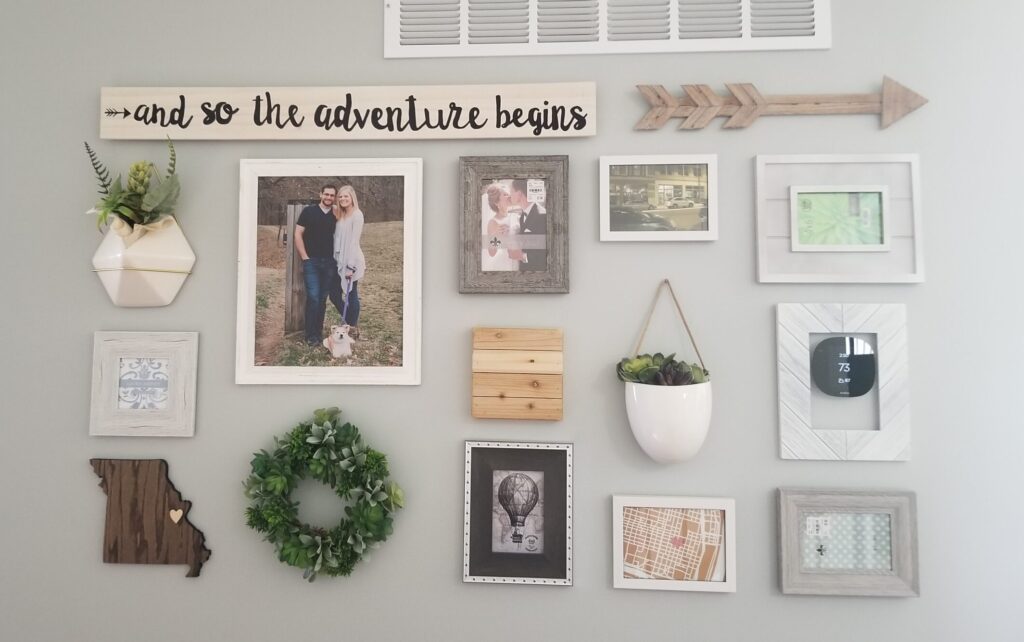
But see in the center? The little pallet? That was still undone. I had purchased a letter ‘L’ to attach to it for our last name but wanted to paint or stain that pallet first. The problem was, I just didn’t know what color. Enter the present day when I FINALLY made a choice and got around to finishing it! It only took four years! #betterlatethannever
THE DIY
MATERIALS USED
1 – Pallet
1 – Wooden L
1 – Sawtooth Picture Hanger, if hanging, as the pallet has none
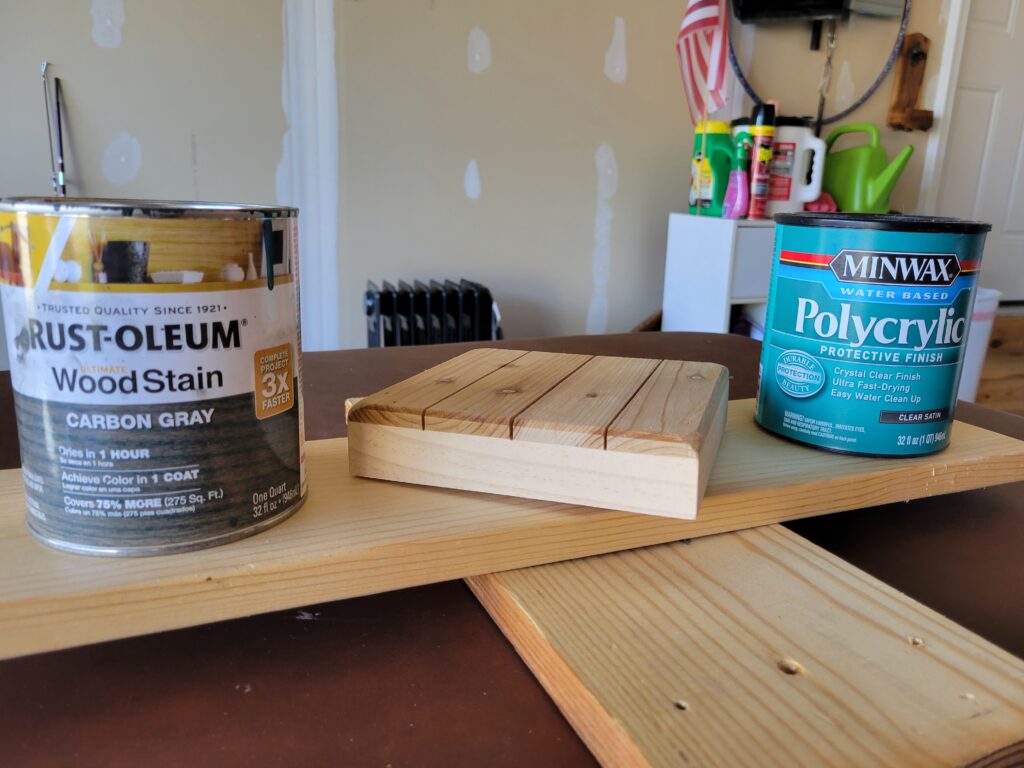
1 – Rust-oleum Ultimate Wood Stain in Carbon Gray, 32 oz can (We had this leftover on hand from another project. You likely will not need this large of a can, depending on the size of your pallet)
1 – Minwax Polycrylic Protective Finish in Clear Satin, 32 oz (This was also leftover on hand)
2 – Paint Brush (Normally I would use a foam brush for the stain, but I didn’t have one on hand at the time)
1 – Old rag or towel
1 – Elmer’s Carpenter’s Wood Glue (We have a large bottle on hand but a small 4 oz bottle would suffice)
THE HOW-TO
- Make sure your pallet is clean and wiped down of any dust or debris before staining. Open your can of stain and mix well.
- Less is more with stain! Dip your brush in and do a quick layer anywhere you want to stain the pallet. Using your old rag or towel, press firmly to wipe away the excess stain. If you prefer a deeper color of the stain you chose, let the stain set a bit longer before wiping. Be sure to read the instructions on the can for best results.
- Let the stain set according to the can instructions for dry time. Once dry, apply your sealant with a brush. Again, less is more. Too much sealant will cause bubbles and goopy spots instead of a clean, smooth finish. Let dry according to the can instructions.
- Once fully dry, nail one sawtooth picture hanger on the back. I centered mine along the top edge.
- Finally, use the wood glue to attach your wooden letter where you desire on the pallet. Clean off any excess glue that may have exuded. Let dry and display!
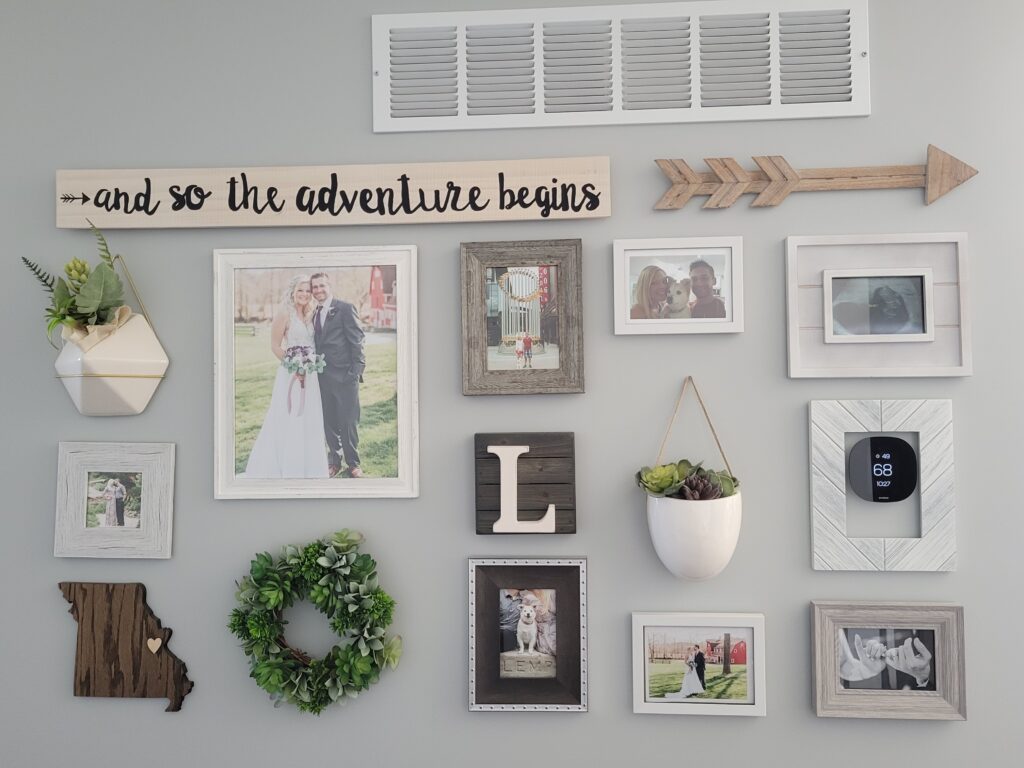

Did you complete this project? Or do you have a gallery wall display you’re particularly proud of in your home? Comment below or tag me on Instagram, @helloblondemoments, to share the love!

Leave a Lovely Word or Two
Share the Love -
0 Comments