Hello to project number 3 of 4 for our sweet boy’s nursery! Missed the first two projects? You can find them here and here.
THE DESIGN
Inspirational quotes stimulate me. They support me through challenging times and help me maintain an optimistic mindset when it’s too difficult to do myself. I’ve also recently gotten back into reciting affirmations every morning and truly believe it’s helped my daily productivity (that and regaining my energy at the start of the second trimester 😅). Because of that, preserving a positive outlook is something that I want to try my best to instill in our children, as early as we can, to help them be their best selves.
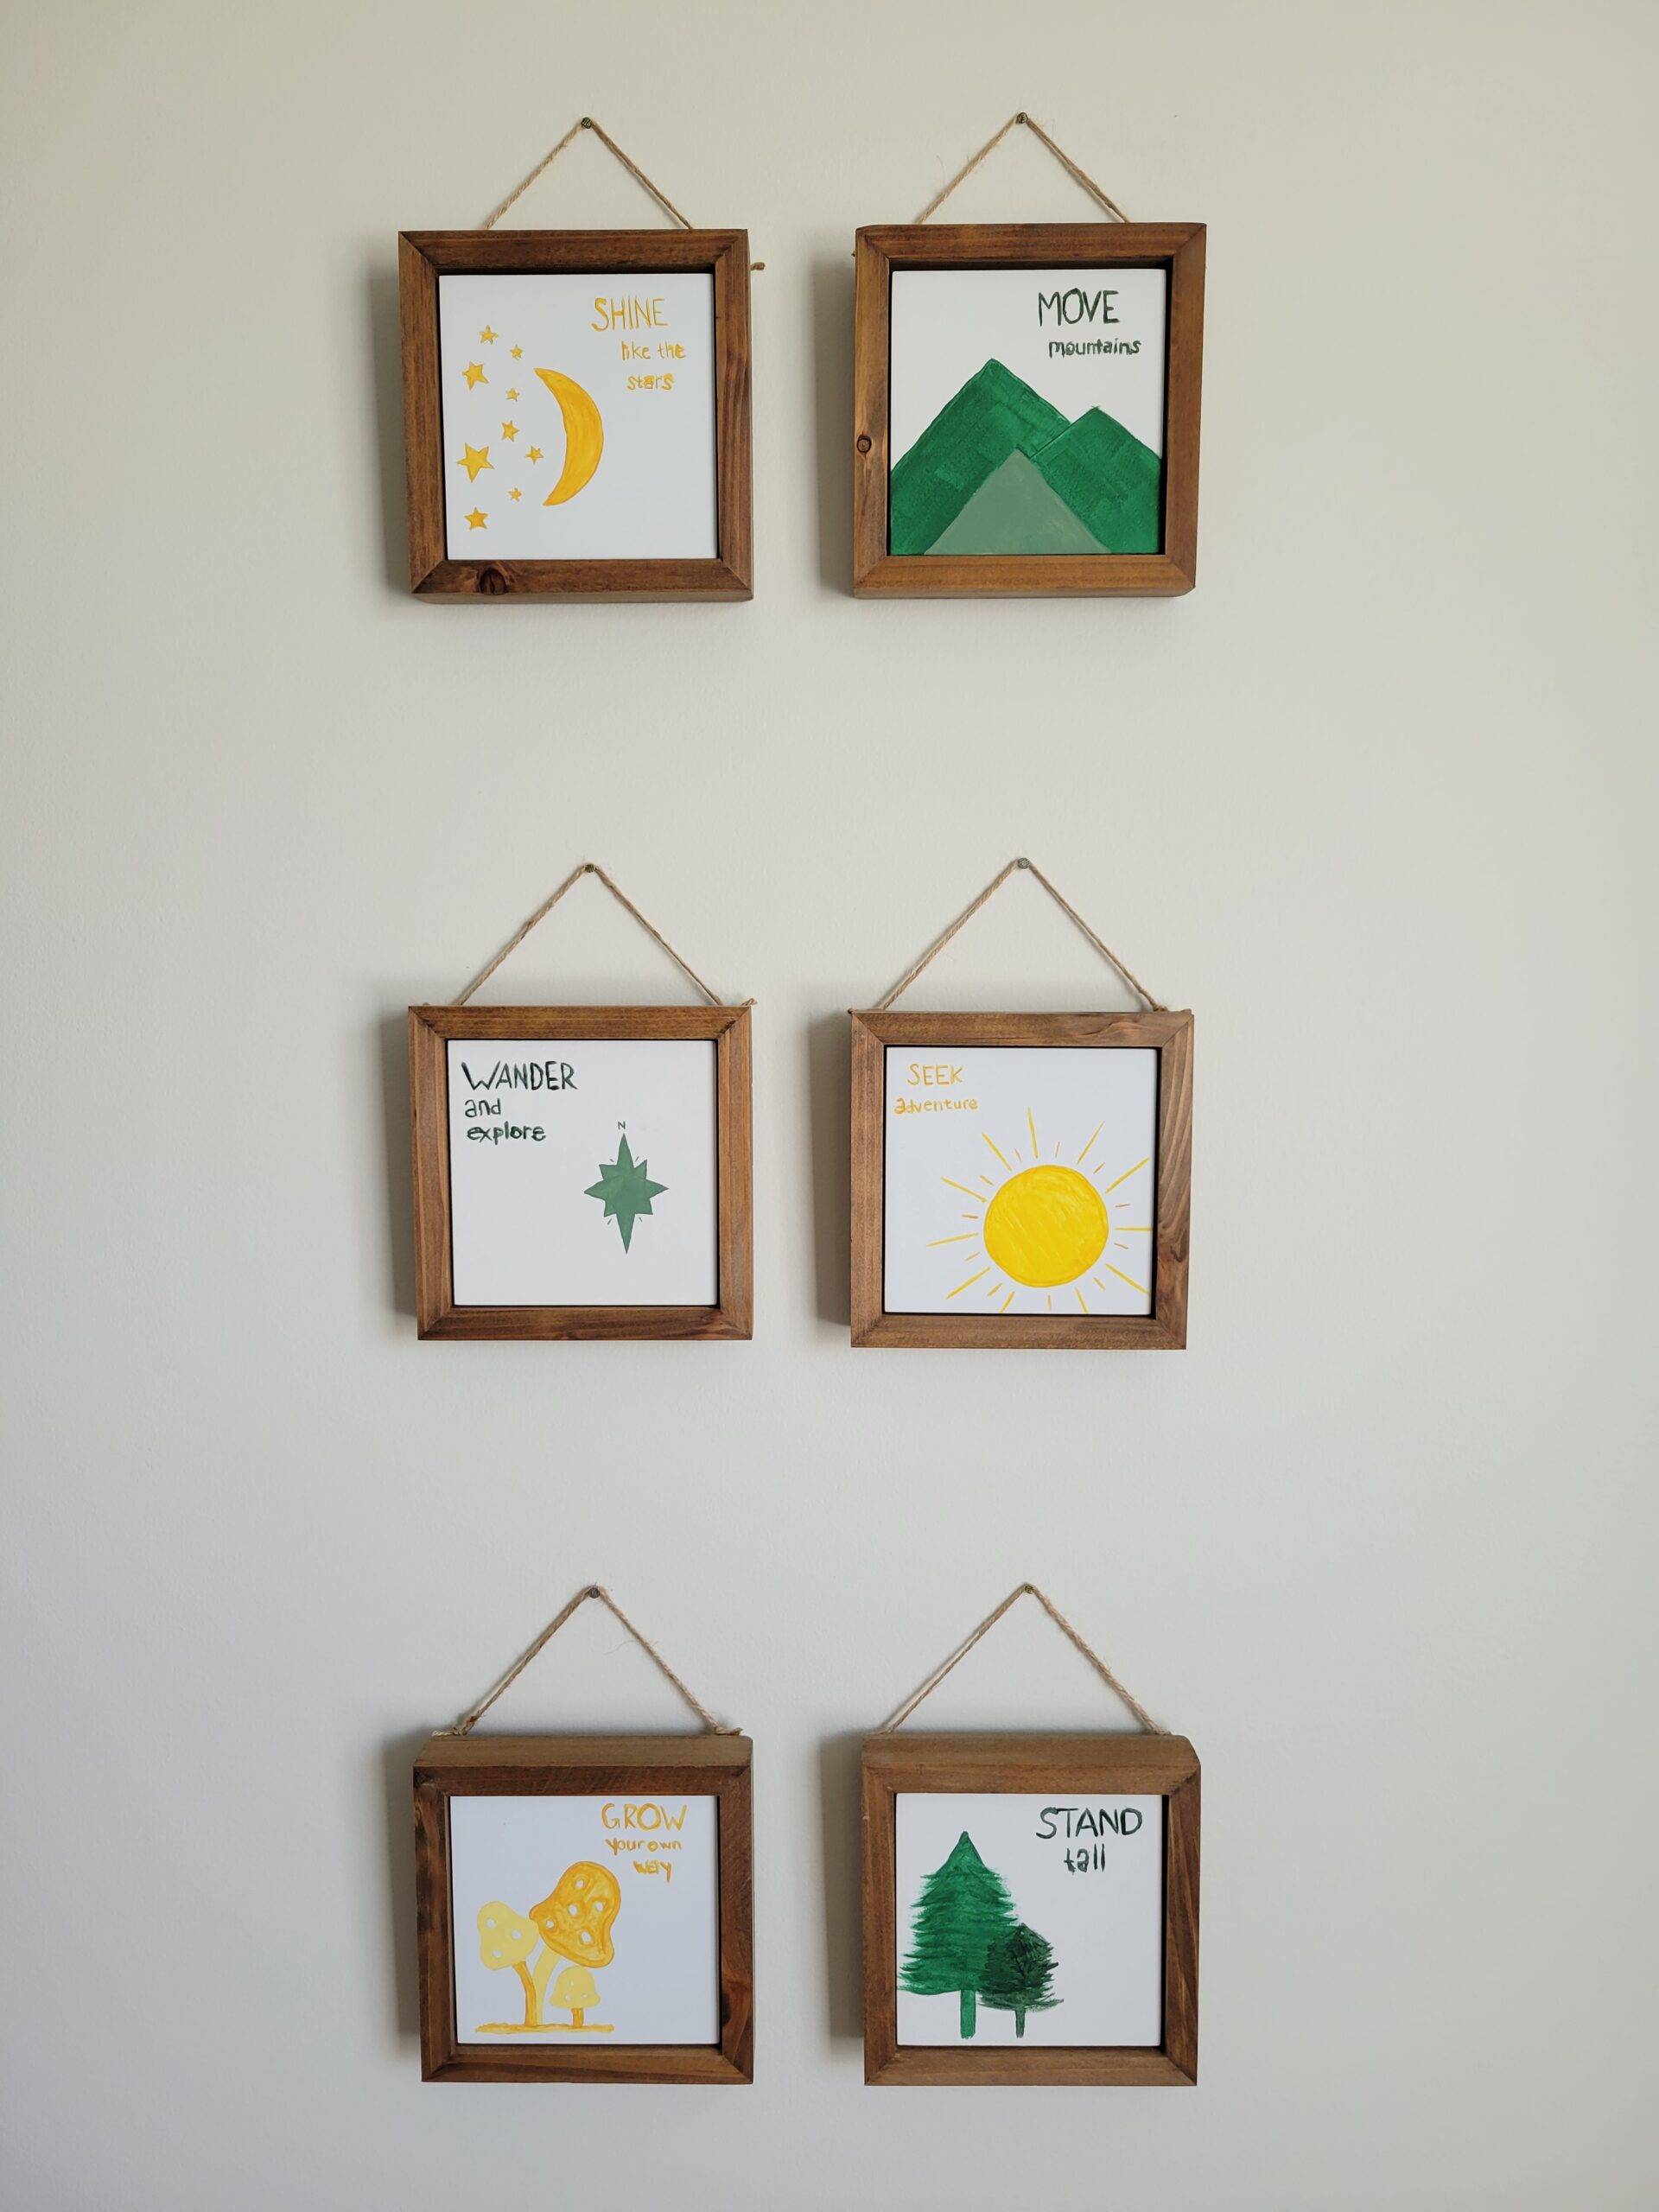
Another decor idea I found myself saving a lot of was wooden wall signs with inspirational quotes in the form of outdoorsy phrases. These were a no brainer to add in his room and, after filtering through and selecting my favorites, I began sketching out my concept for them on his wall. I chose to paint them all on my own on some canvases and considered securing them to a piece of wood for the wall. In the middle of my designing, I came across an additional method to mount them that I loved which included a wood back and an acrylic piece overlay on the front protecting the artwork affixed to the wood. This was so much more adorable than my initial idea and, with a few tweaks of my own, I thought it would be the excellent finishing touch to this project.
THE DIY
MATERIALS USED
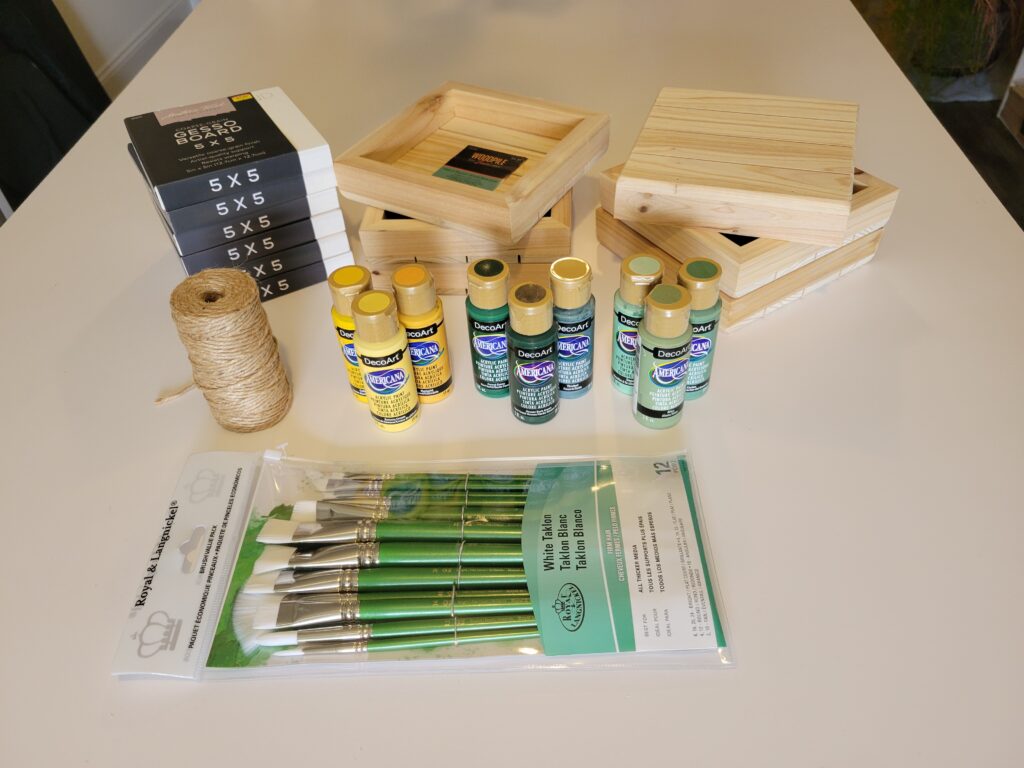
6 – Wooden Pallet Boards, 6.25×6.25
1 – 2 fl oz acrylic paint tube in each color to be used (I used Marigold, Golden Yellow, Banana Cream, Leaf Green, Forest Green, Hauser Dark Green, Celery Green, Sage Mint, Desert Cactus)
1 – Jute Twine, or whatever type of string you want to use to hang your boards
1 – Quart Wood Stain (I used Minwax Oil Base Stain in Special Walnut)
1 – Foam Brush (I ended up buying this multipack because I needed more foam brushes for other projects)
12 – Screws
1 – Drill
1 – Wood Glue
THE HOW-TO
OPTIONAL: Trace your design lightly on your canvas to prevent any errors. I chose to do this merely because it had been so long since I painted and because I wanted to make sure I could copy to the canvas what was visualized in my mind.
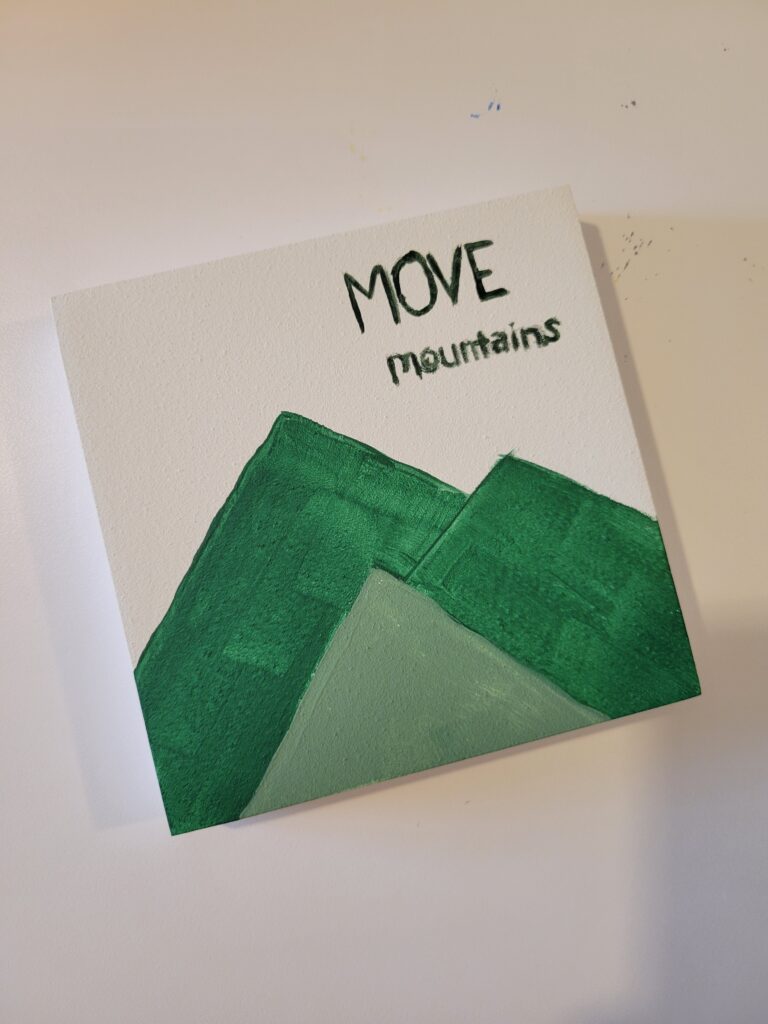
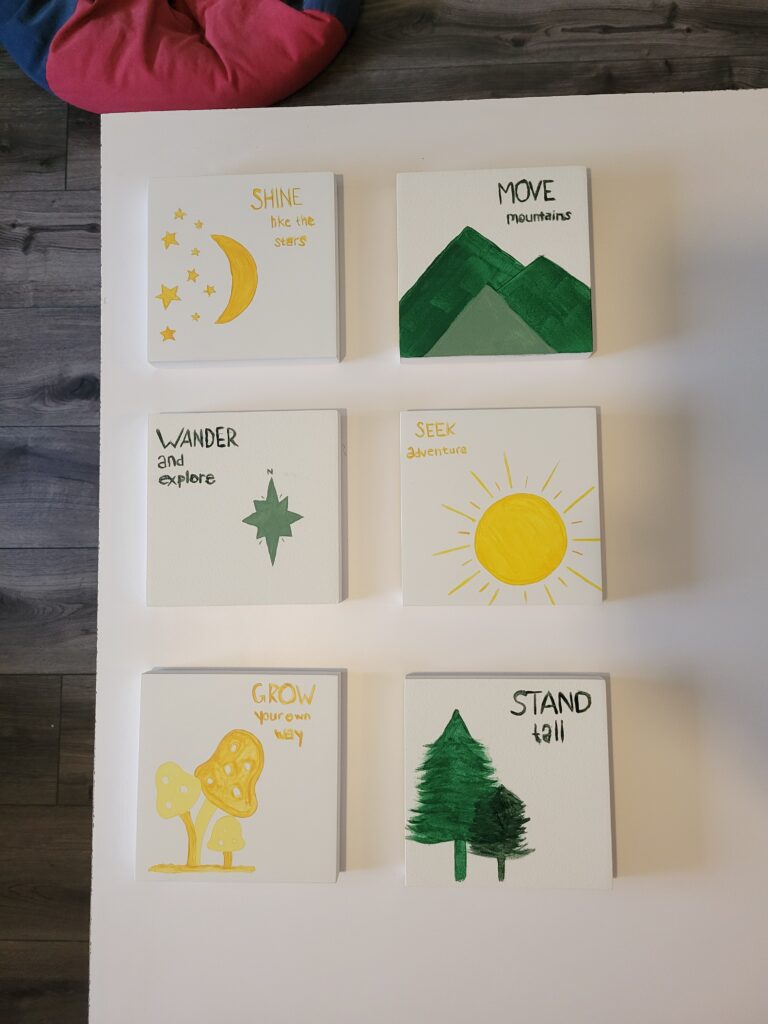
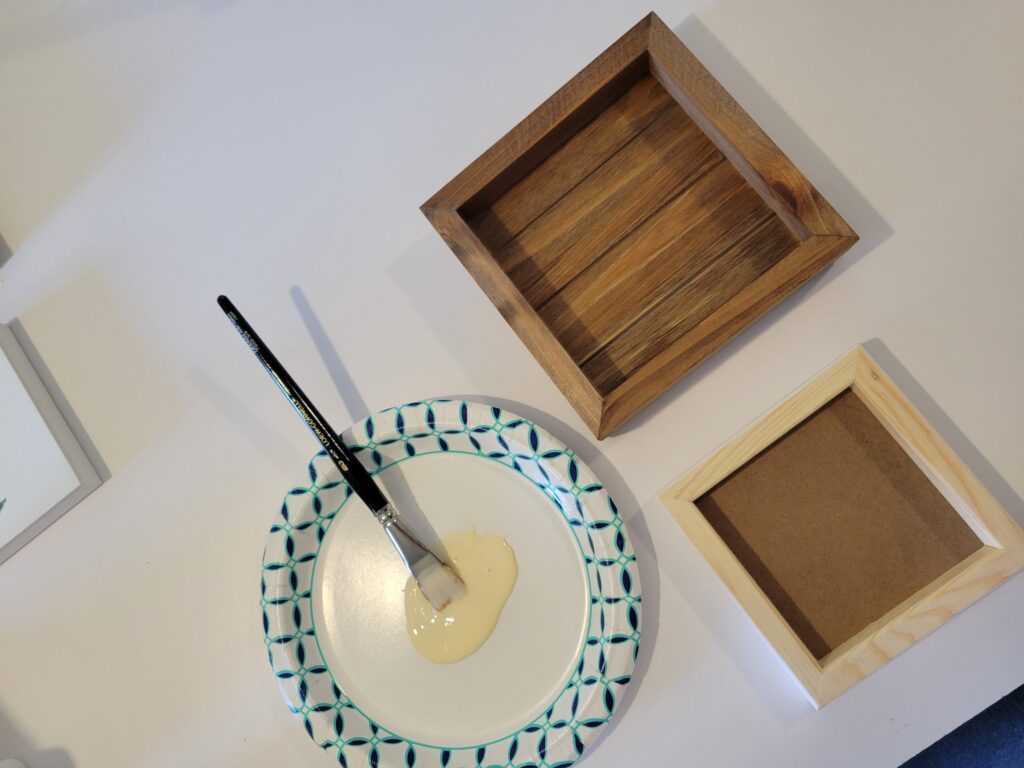
1.Choose your colors and distribute a small amount of each on a plate or surface. Paint out your picture on each canvas. Let dry.
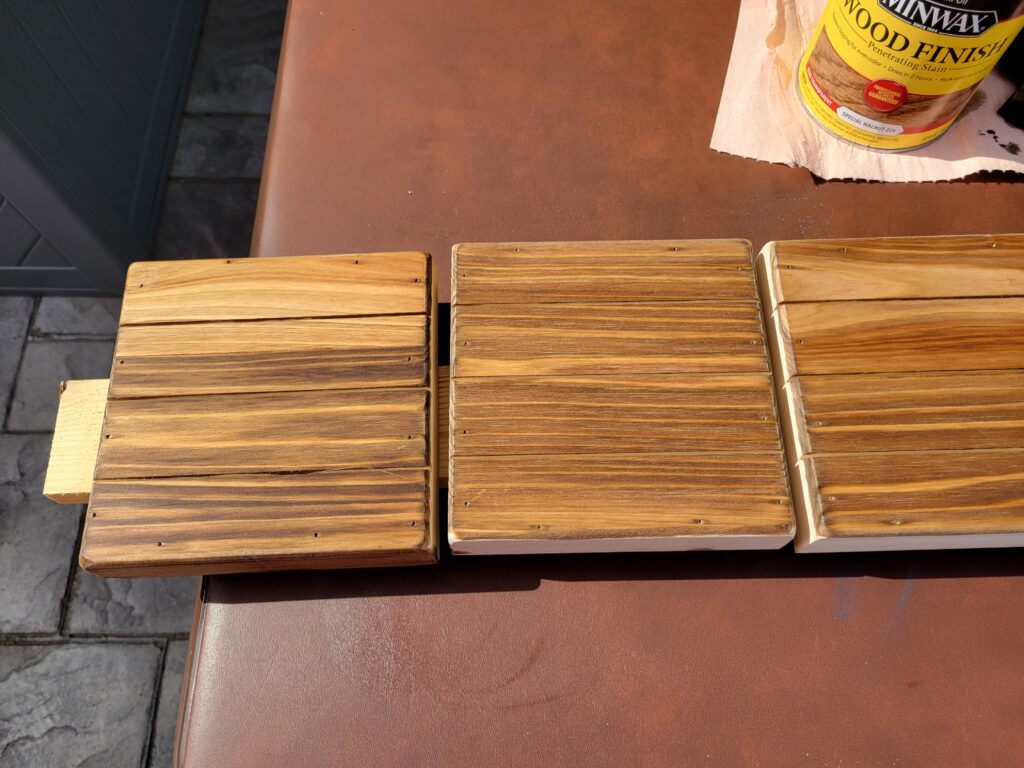
2. Prep your wood boards for stain. Make sure they are free of any dust or debris.
3. Stain each of your boards. Even though the back of the boards for my particular project are facing the wall, I still stained the full board for a cohesive look. Follow the instructions on the stain to ensure the best result. Let dry.
NOTE: You can choose to seal your boards if you so choose. I typically seal my wood pieces but made an executive decision for this particular project to not. No reason why 🤷♀️😂
4. Apply wood glue to the back edges of the canvas boards. Place them inside the wood boards and even out so they are centered. Set aside and let dry.
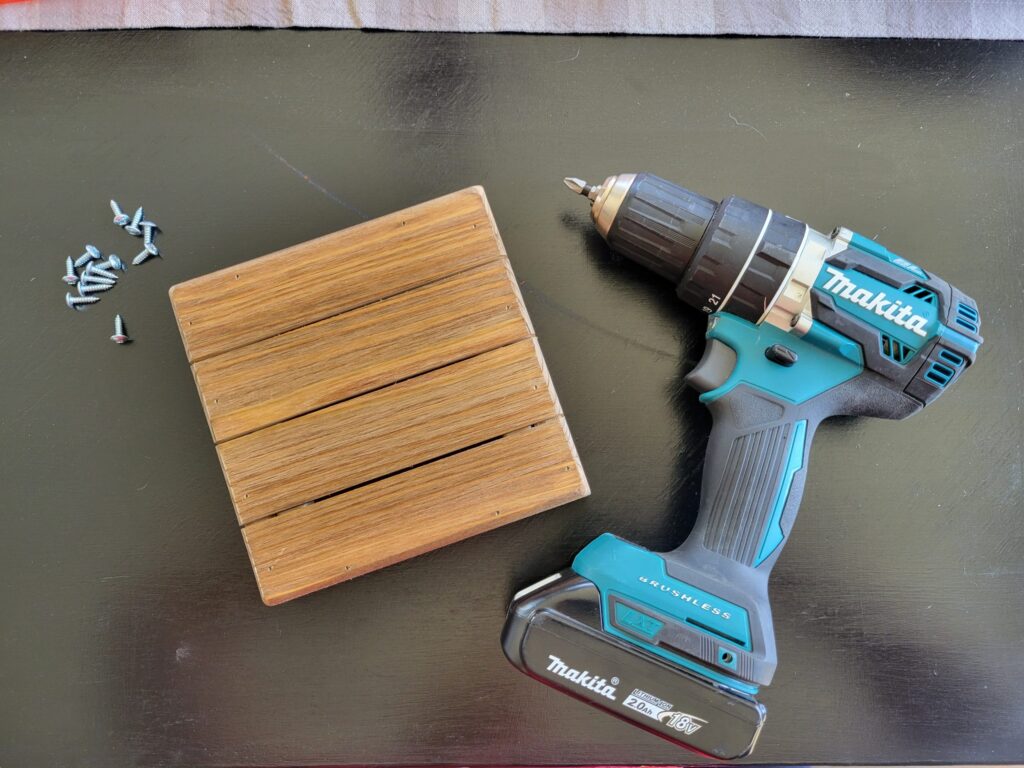
5. Measure the spacing where you wish to add your hanging screws to the back side of the wood boards. Mark them and drill in your screws. Be mindful to leave some space for your twine.
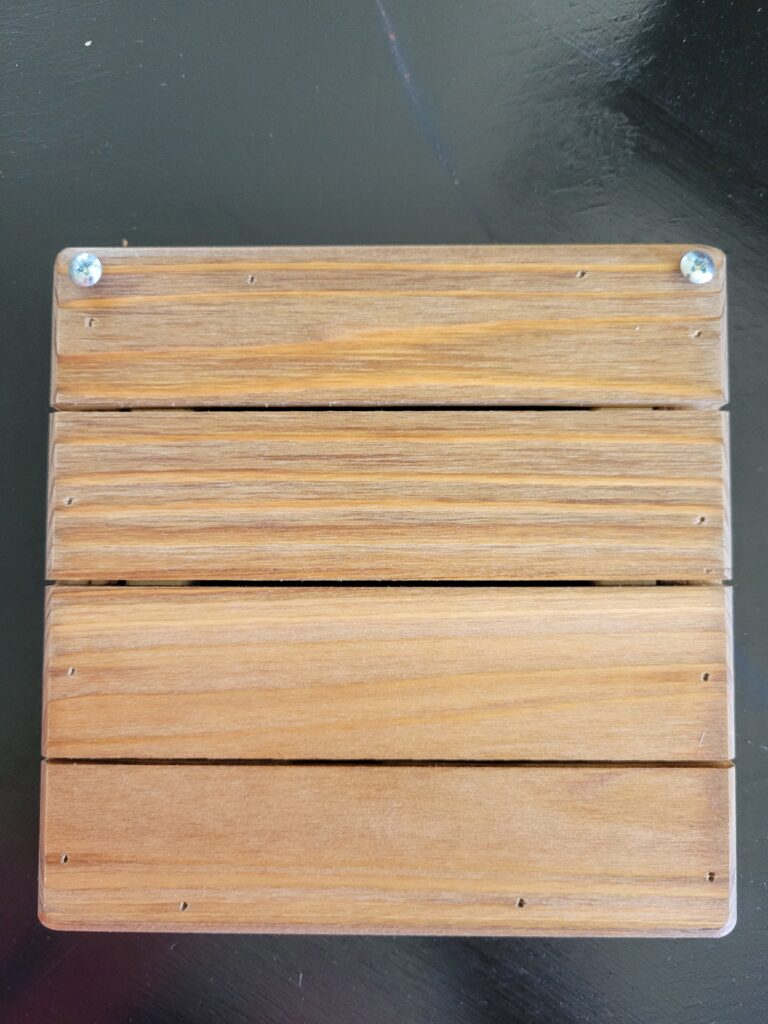
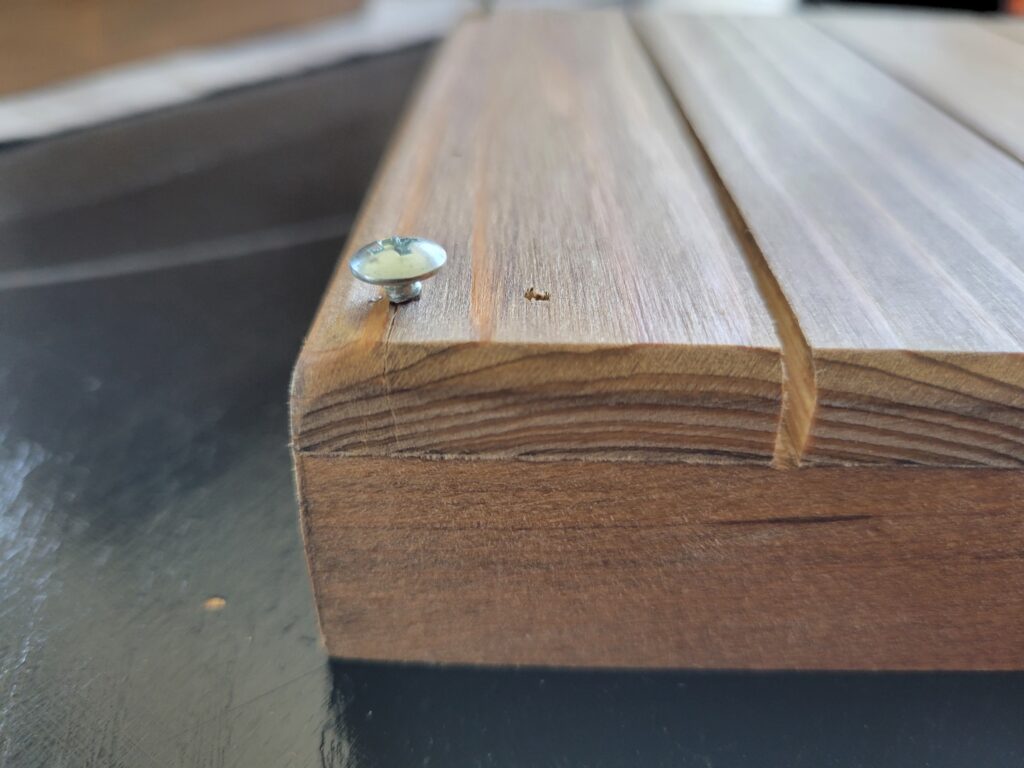
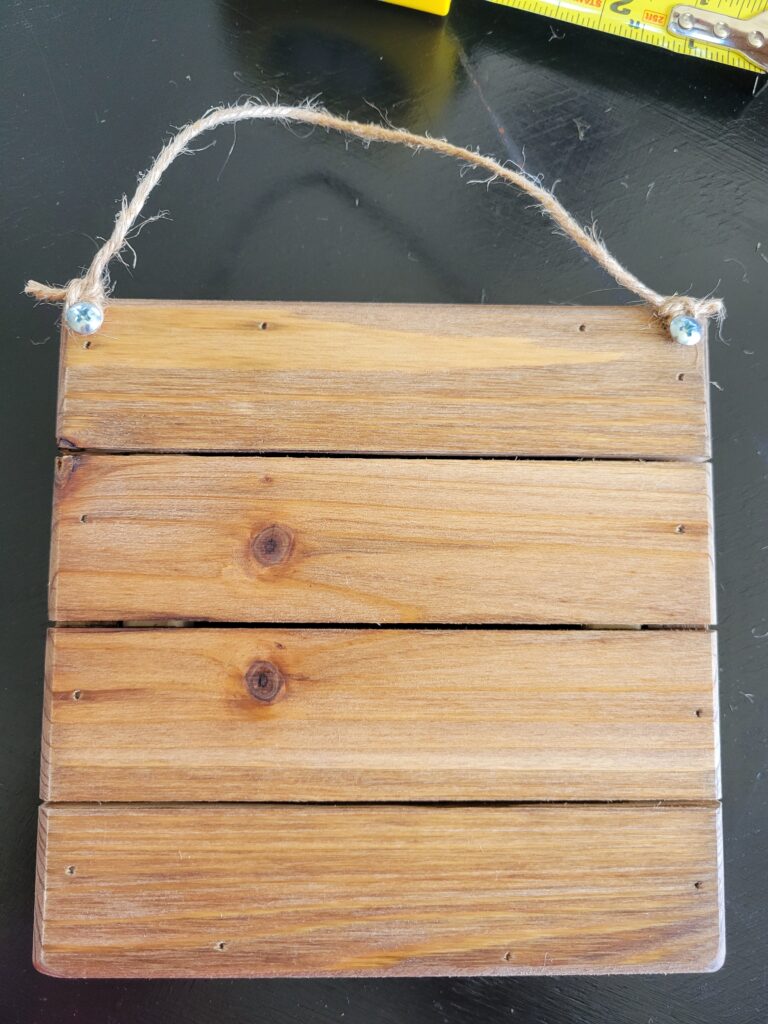
6. Tie your twine to each screw. Be sure to measure out how long you want the string to hang above your wood board! Due to how I wanted these boards to lay out next to another project in the works, I had a certain amount of space to work with. I chose to have my string 2.5” up from the center, for reference, which I cut out 14” pieces so I had room to use to tie and trim off any excess.
7. Hang your wood boards and admire your creative spirit!
Did you complete this project? Comment below or tag me on Instagram, @helloblondemoments, to share the love!

Leave a Lovely Word or Two
Share the Love -
0 Comments